How to Install and Calibrate Xhorse Dolphin XP-008?
Passendes Produkt:
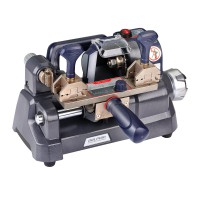
EU Ship No Tax 2025 Xhorse Dolphin XP-008 XP008 Manual Key Cutting Machine for Special Bit, Double Bit Keys with Built-in Battery
Letzter Preis:€699.00€531.0024% off
- Art.-Nr. SL485
- Kostenloser Versand
XHORSE DOLPHIN XP-008 MINI mechanical key cutting machine has an all-aluminum body, so its good quality is fully guaranteed. With a 0~45°rotation bench, which is a revolution in design, XP-008 can perfectly cut keys with different titled angles.
*First, make sure machine's power is off.
Hold calibration rod and loosen the clamp, then take out calibration rod.
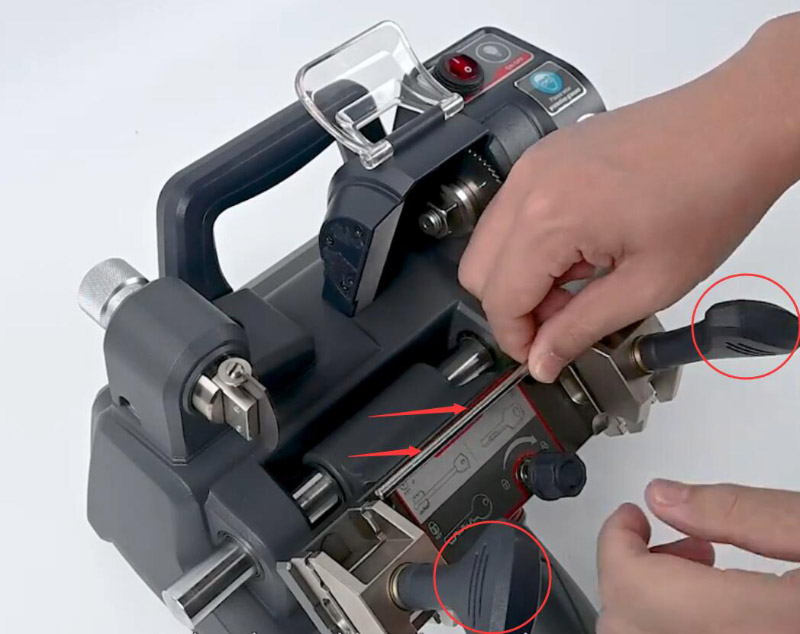
Stick it into spindle pinhole
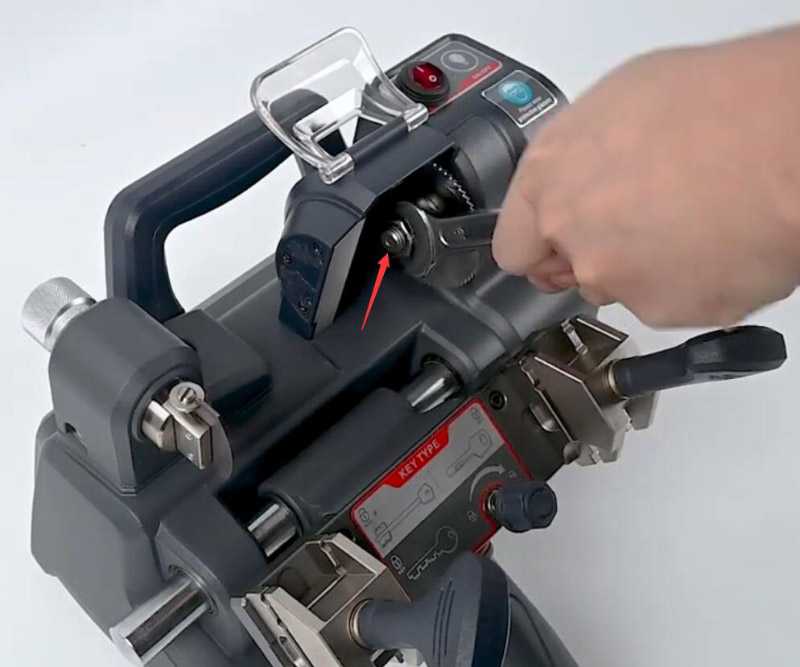
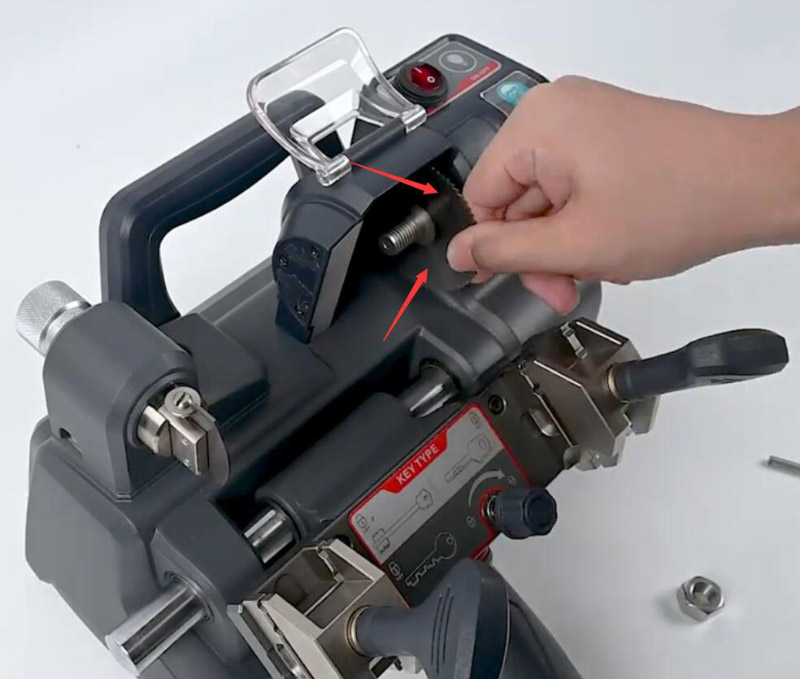
Loosen lock screw using a wrench.
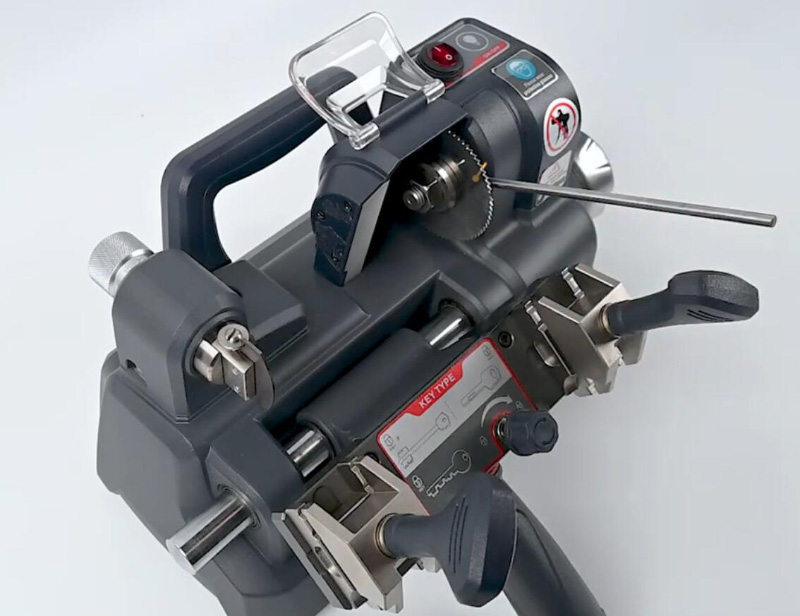
Remove the cutter (cutting plate).
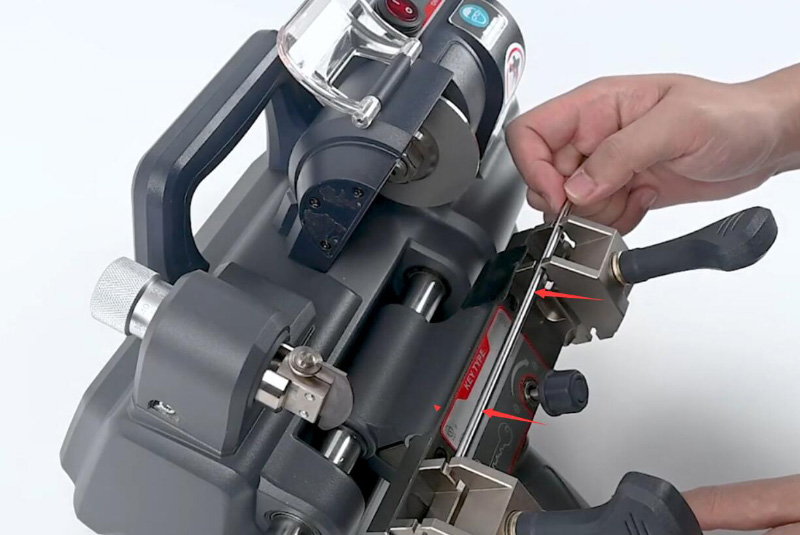
Install calibration plate, same as before.

Step 2. Lateral Adjustment of Micro-adjust Base
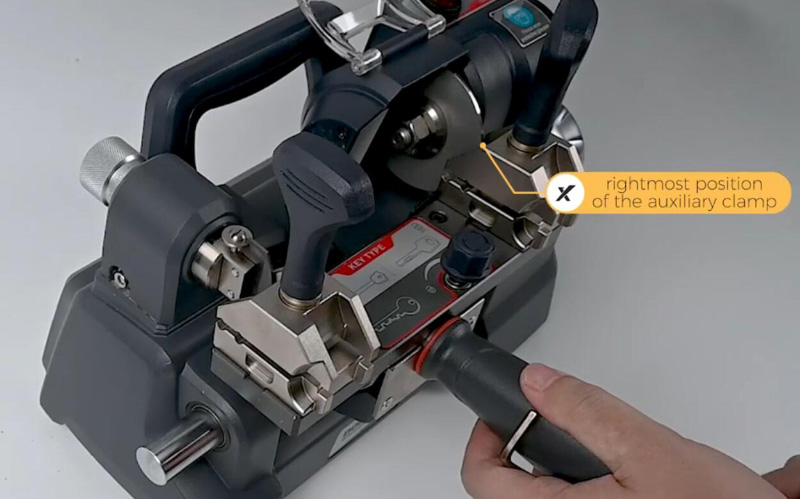
*First, make sure the main and the auxiliary clamps stay Side A.
Rotate handle until calibration plate touches right part of auxiliary clamp.
Slightly loosen fixing screw of sliding base.
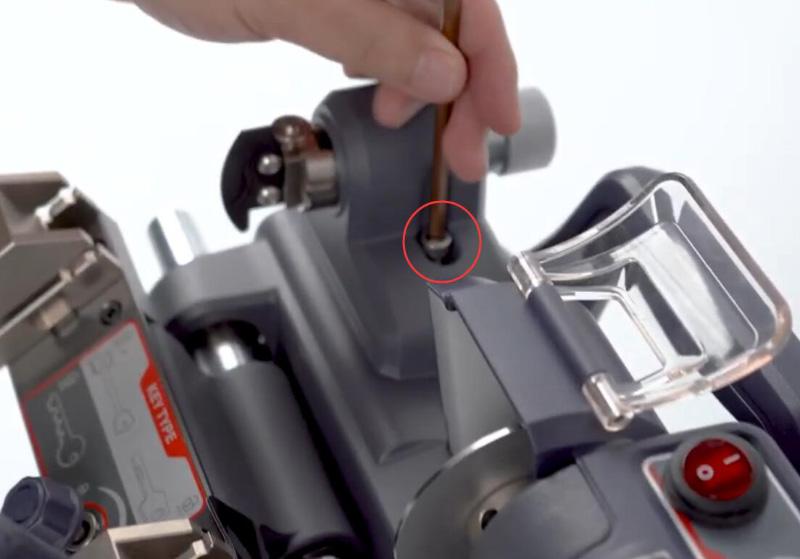
Adjust left adjusting screw using an Allen wrench until cutting guide touches right part of main clamp.
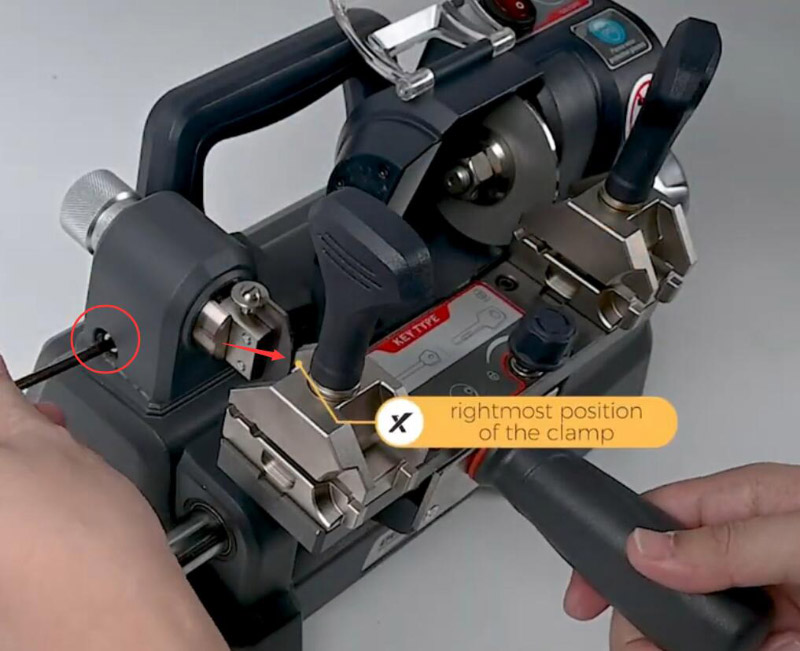
Tighten fixing screw of sliding base.
Step 3. Vertical Adjustment of Micro-adjust Base
Stick calibration rod into clamps and tighten it.
Adjust knob of micro-adjust base so that calibration rod can touch left cutting guide and right calibration plate in the meantime.

Step 4. Height Adjustment of Micro-adjust Base
*Generally, the procedure is already complete by factory.
Rotate handle, and make sure calibration rod keeps touching left cutting guide and right calibration plate in the meantime.

Done!