18% off
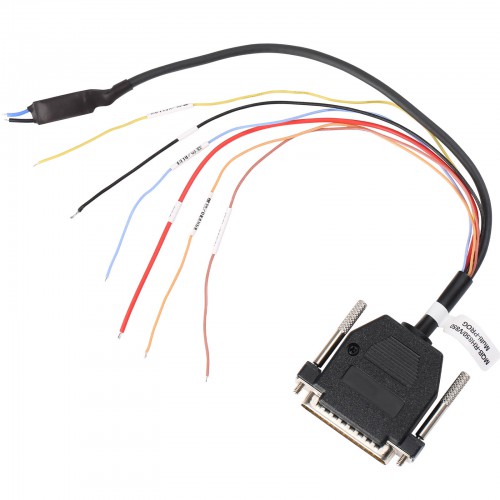
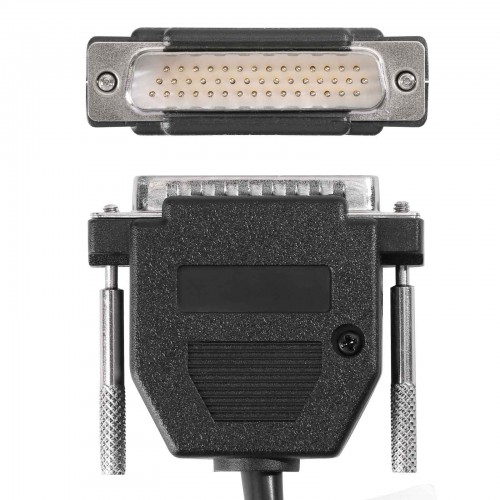
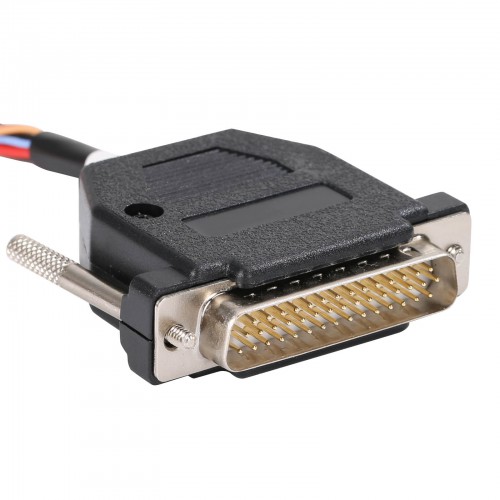
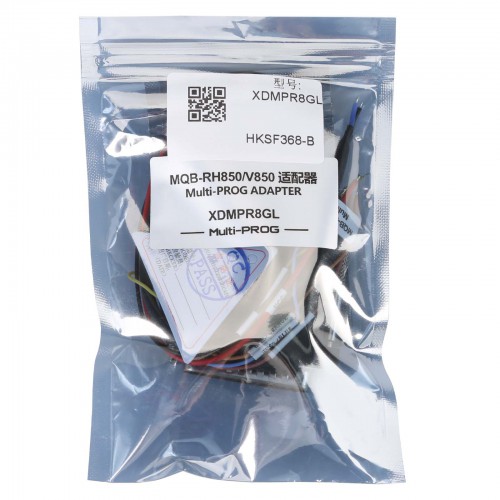
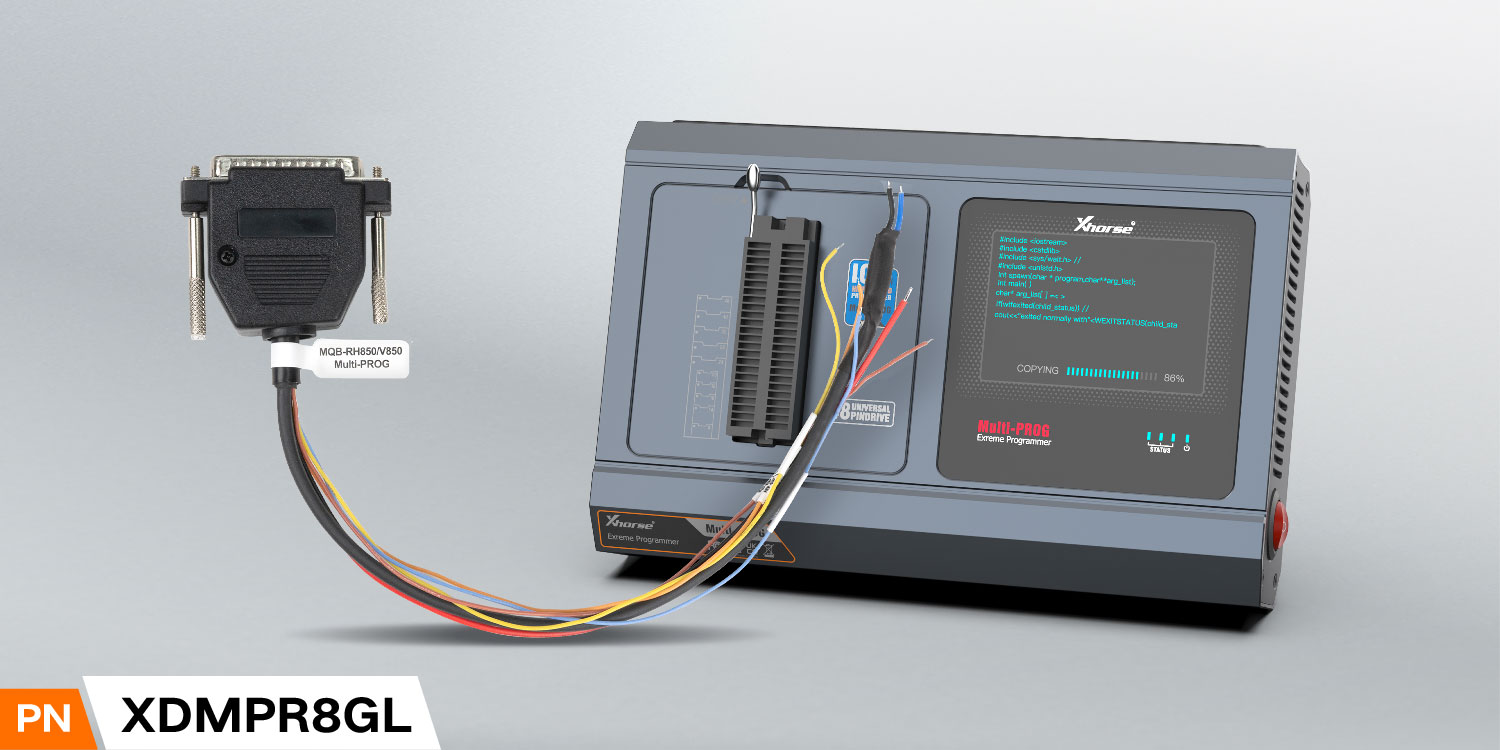
Xhorse XDMPR8GL MQB-RH850/V850 Adapter Exclusive for Xhorse Multi-PROG
Art.-Nr. HKSF368-B
Auf Lager.
Geschichte 245 verkauft.
Letzter Preis: €45.00Kaufe jetzt: €37.00
18% off
Buy Key Tool Plus Advanced Version,Get Free One Year Unlimited BGA and ID48 Token
Need Better Price, Please Contact:
Email: sales@XhorseShop.de
Whatsapp:+86-19947586579
Need Better Price, Please Contact:
Email: sales@XhorseShop.de
Whatsapp:+86-19947586579
Versand:
Kostenloser Versand
Standard Flat Rate Shipping Service
Estimated delivery time: 7-18 working days.See details »
Gewicht:
0.1KG
Paket:
13cm*10cm*2cm
( Inch: 5.12*3.94*0.79 )
Kehrt zurück:
Return for refund within 30 days,buyer pays return shipping. Read details »
Produktbeschreibung
Xhorse XDMPR8GL MQB-RH850/V850 Adapter Exclusive for Xhorse Multi-PROG
Xhorse XDMPR8GL MQB-RH850/V850 AdapterWhat Makes The MQB-RH850/V850 Adapter Stand Out?
The MQB-RH850/V850 adapter offers a convenient solution, eliminating the need for wire cutting and pin lifting, ensuring a hassle-free approach with a focus on simplicity. This significantly reduces the risk of damaging the dashboard, making it an invaluable tool for automotive locksmiths.
Features:
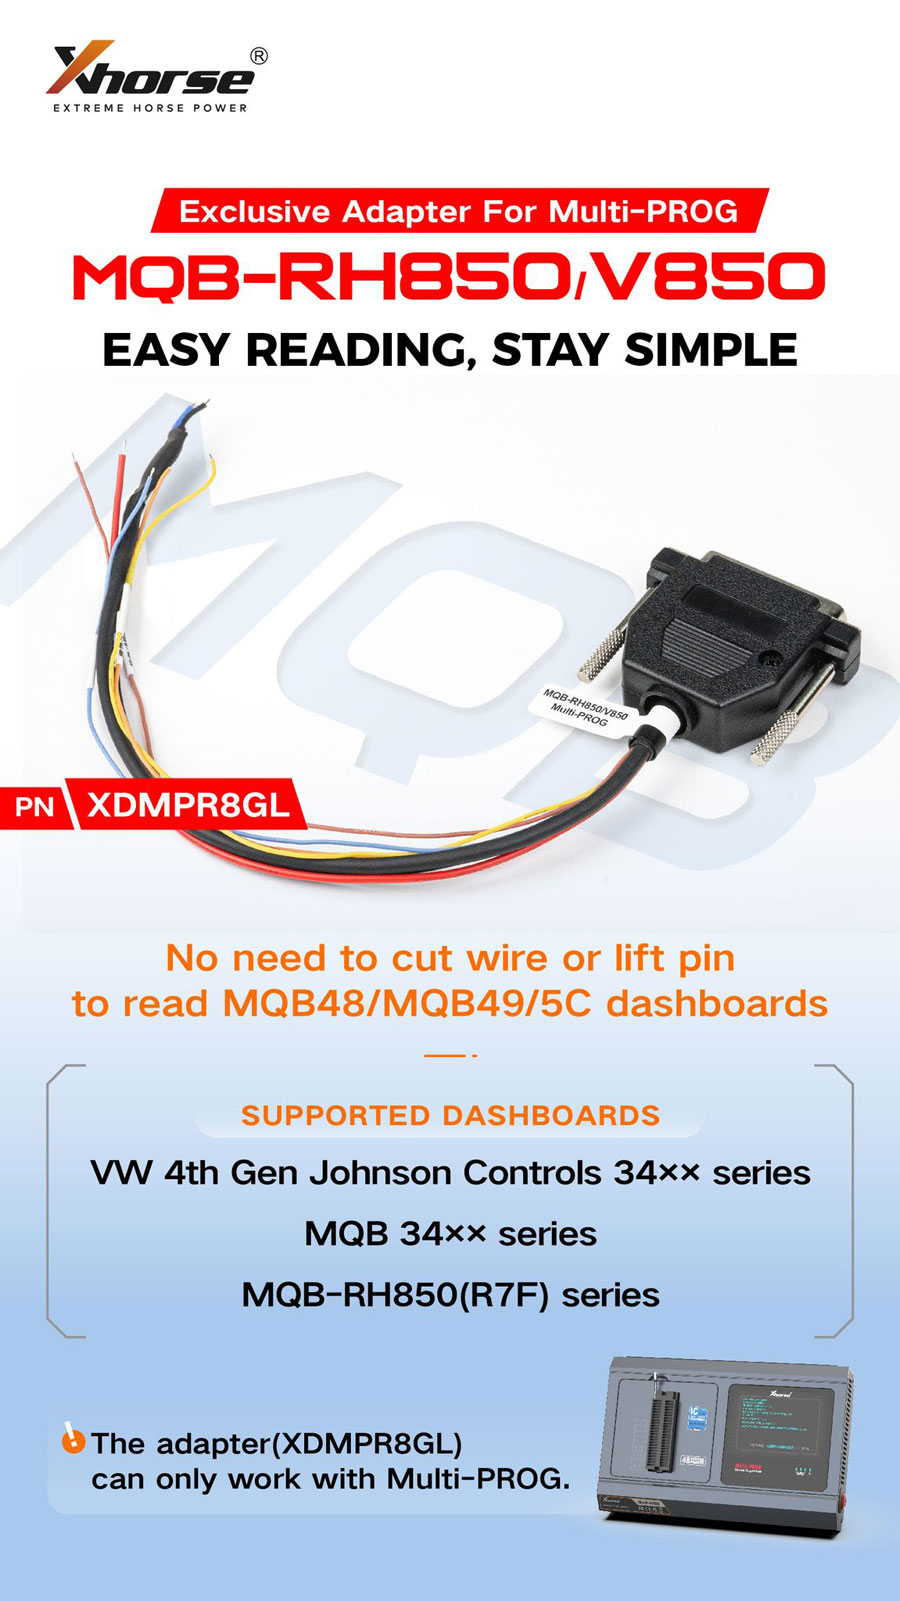
1. No Need to Cut Wire or Lift Pin to Read MQB48/MQB49/5C Dashboards
2. Supported Dashboards: VW 4th Gen Johnson Controls
MQB 34xx Series
MQB-RH850(R7F) Series
3. The Adapter (XDMPR8GL) Can Only Work with Xhorse Multi-PROG. For Key Tool Plus, Please Check XHORSE XDNPR8GL Adapter for VVDI Key Tool Plus
Package List:
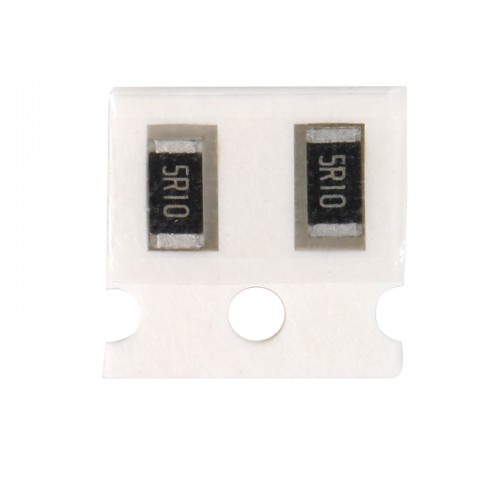
1pc x Xhorse XDMPR8GL MQB-RH850/V850 Adapter


Contact us:
Email: sales@XhorseShop.de
Whatsapp:+86-19947586579
+86-13429866263
Wechat: +86-13429866263
Technical Support
How do you usually read MQB48/MQB49/5C dashboards? Are you considering wire cutting or pin lifting? Xhorse is introducing the MQB-RH850/V850 adapter to streamline your tasks!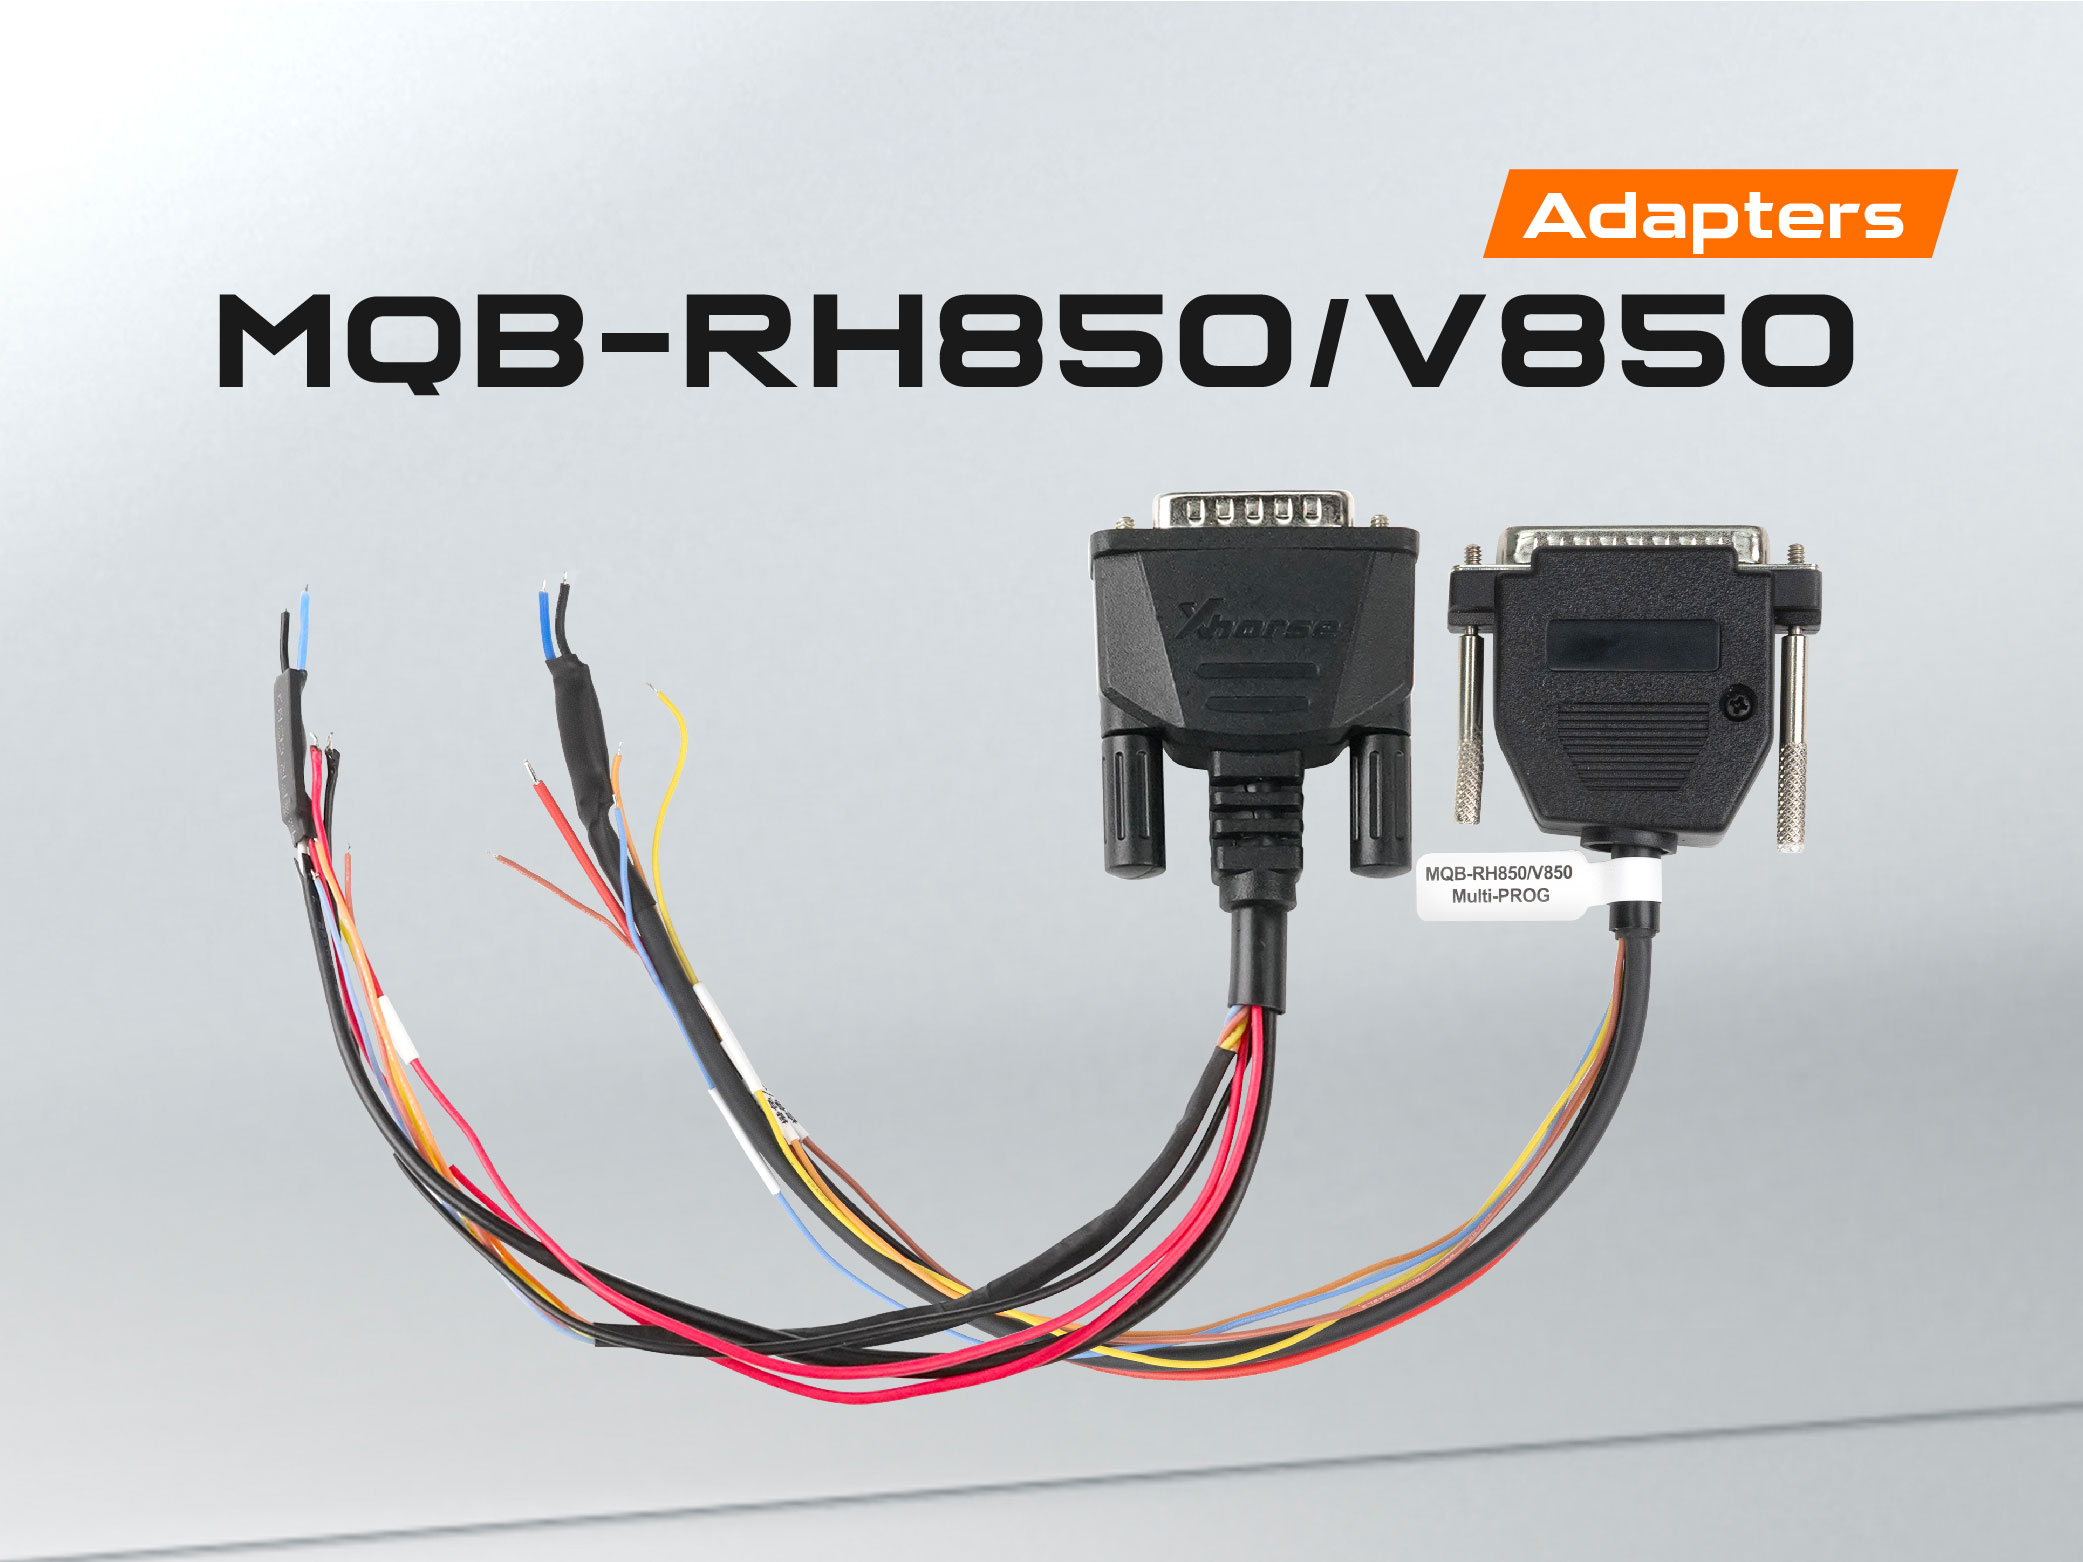
What makes the MQB-RH850/V850 adapter stand out?
The MQB-RH850/V850 adapter offers a convenient solution, eliminating the need for wire cutting and pin lifting, ensuring a hassle-free approach with a focus on simplicity. This significantly reduces the risk of damaging the dashboard, making it an invaluable tool for automotive locksmiths.
Which dashboards are compatible with the MQB-RH850/V850 adapter?
VW 4th Gen Johnson Controls 34×× series
MQB-RH850(R7F) series-MQB48+MQB49(5C)
MQB 34×× series
What devices can work with the MQB-RH850/V850 adapter?
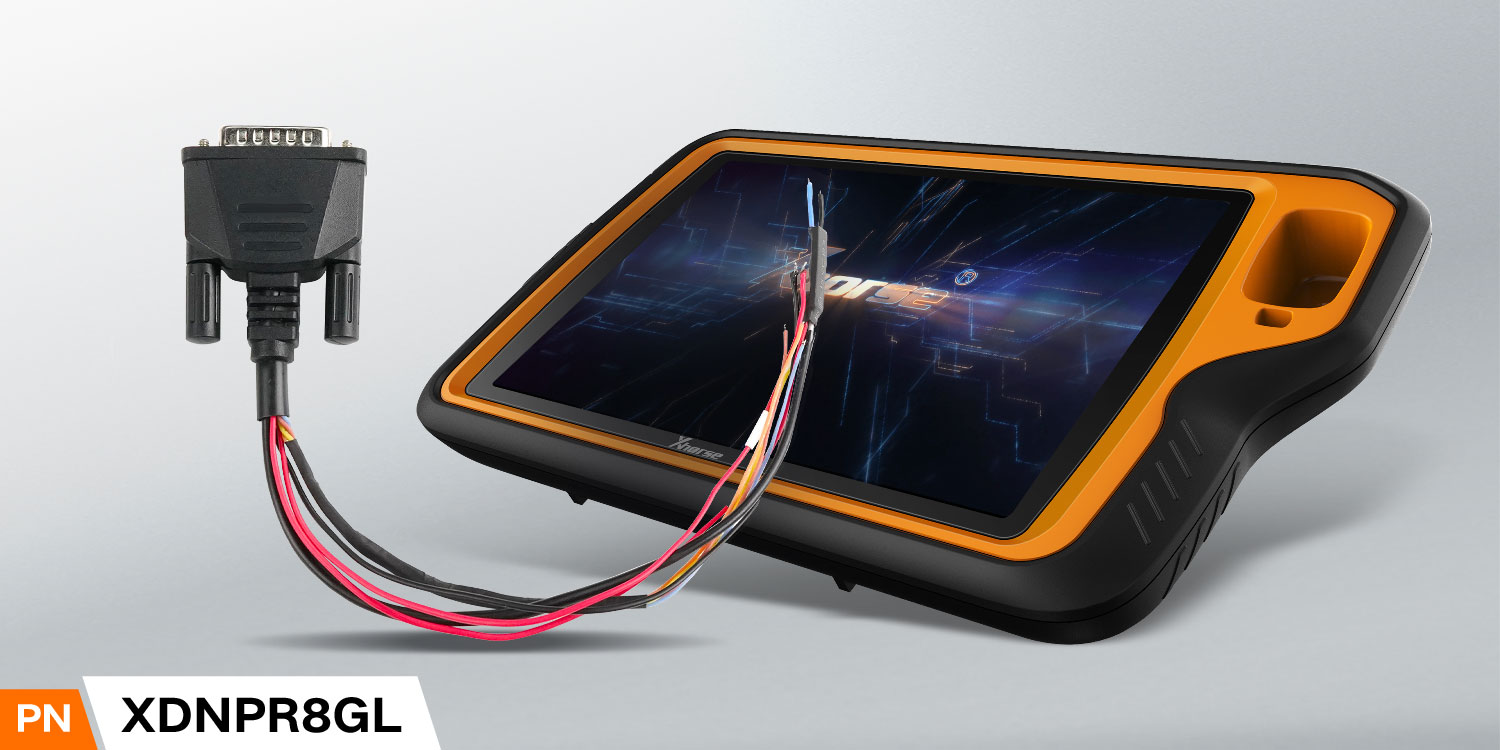
The MQB-RH850/V850 adapter is available in two types:
* Xhorse XDMPR8GL for use with Multi-PROG
* Xhorse XDNPR8GL for compatibility with KEY TOOL PLUS. Select the appropriate one based on your requirements!
How to utilize the MQB-RH850/V850 adapter?
The process involves selecting the appropriate options and following the instructions outlined in the connection diagram. Subsequent steps include component removal, cable soldering, connection to the KEY TOOL PLUS, reading, calculating, and potentially additional operations for reading EEPROM data.
Stay tuned for comprehensive and clear operation demonstrations through upcoming video tutorials!
